Module 3 Formstorming
Weekly Activity Template
Leah Bronowicki
Project 3
Module 3
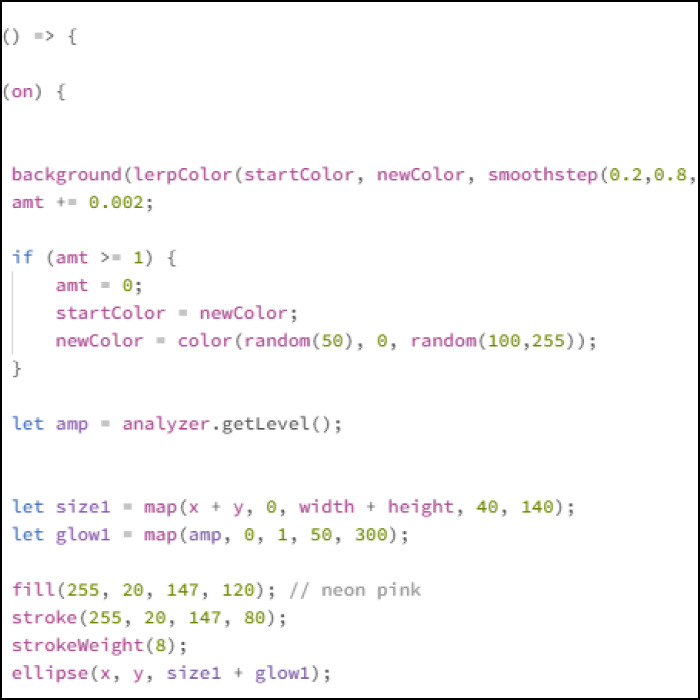
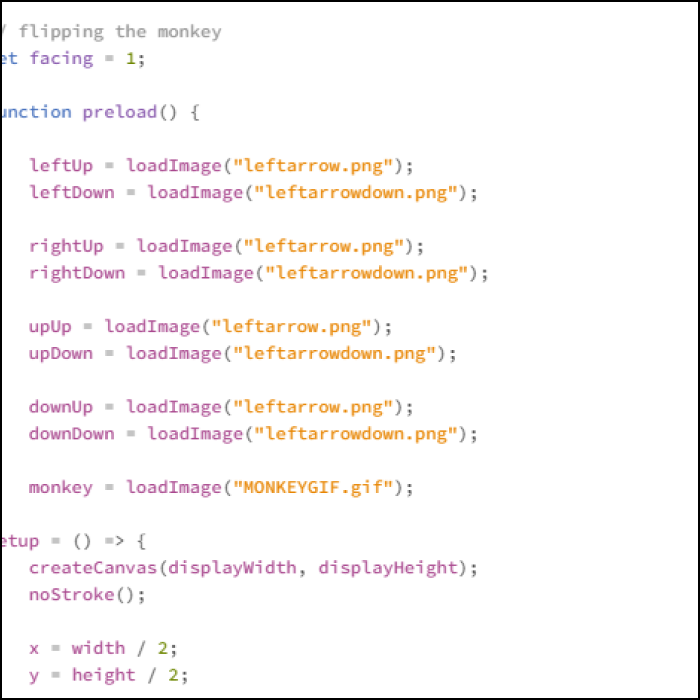
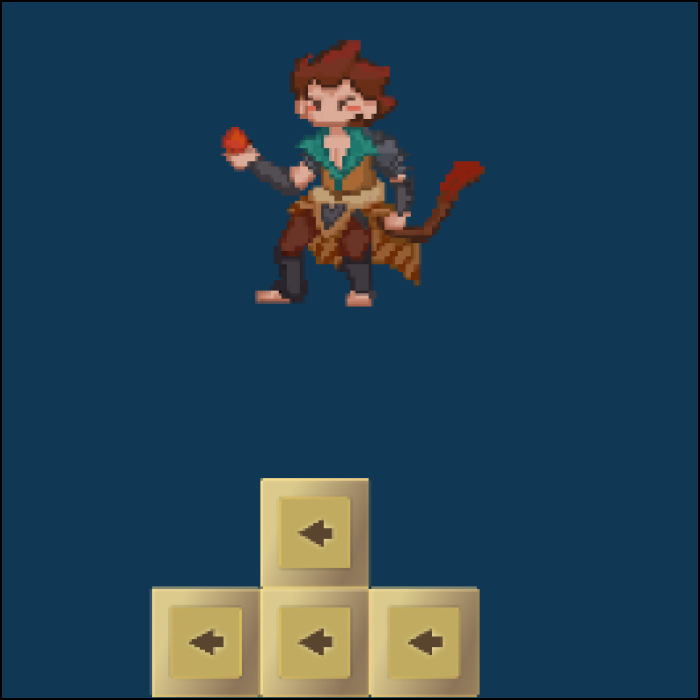
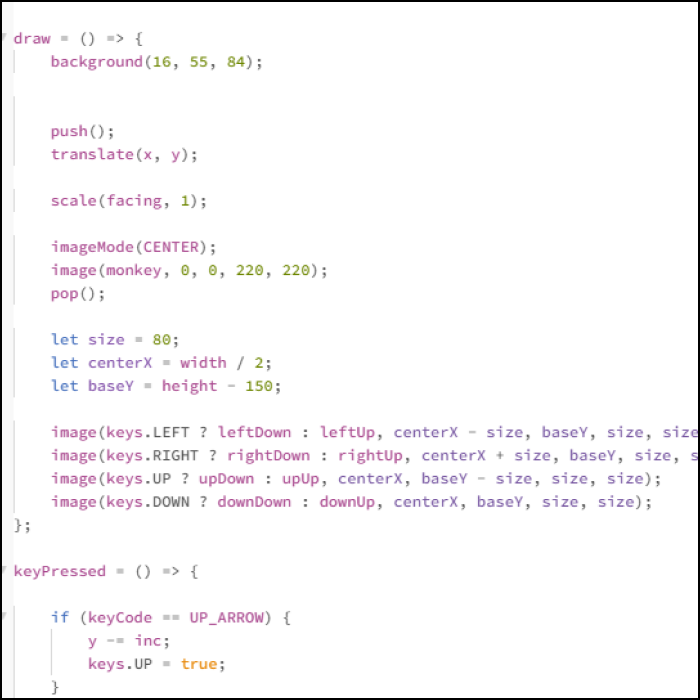
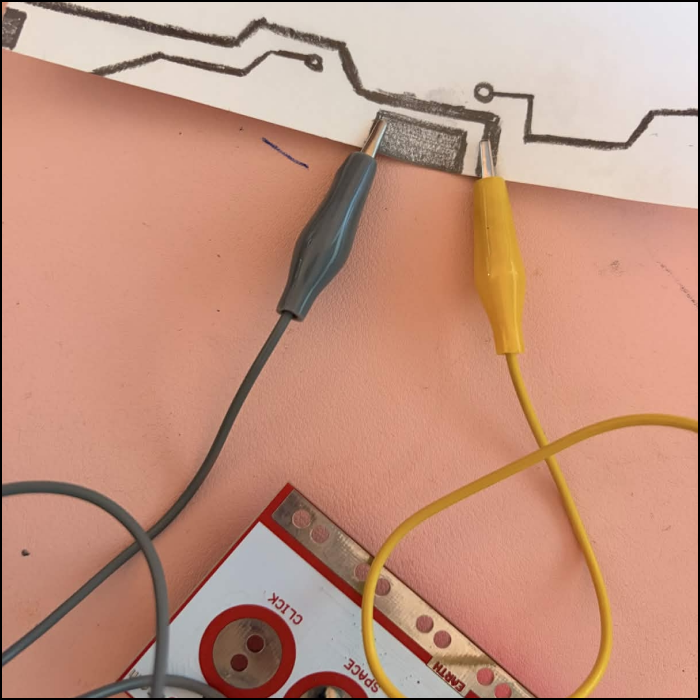
Exploring creative code with keybind controls
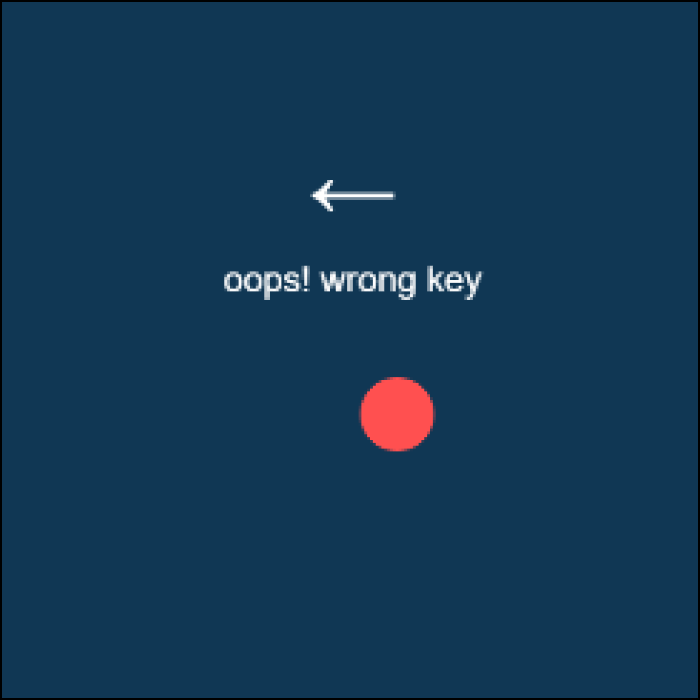
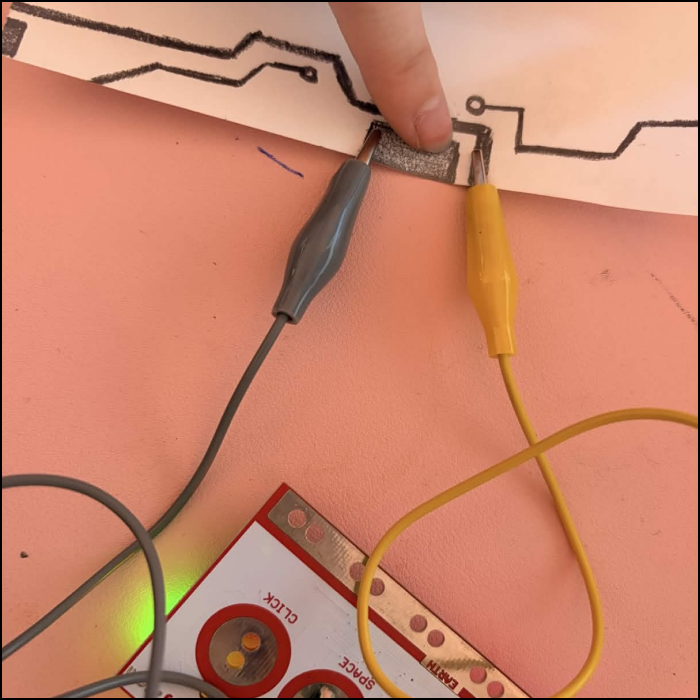
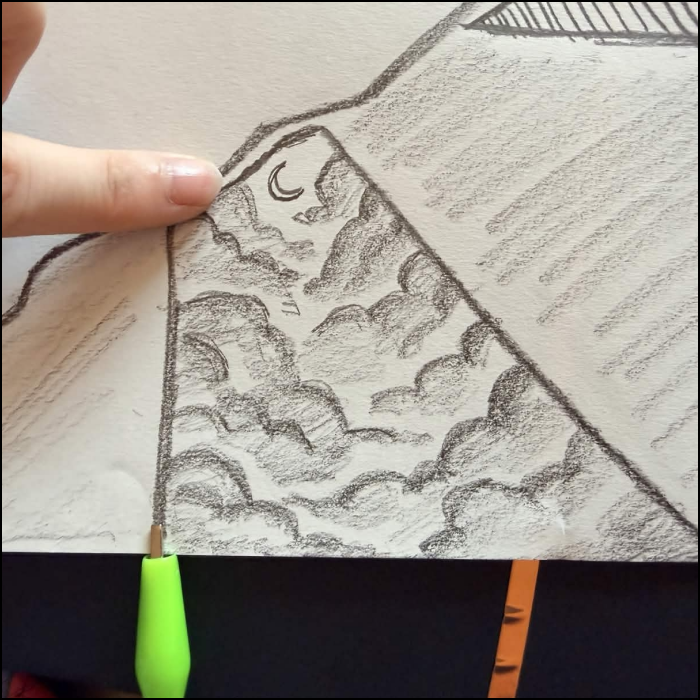
Activity 1


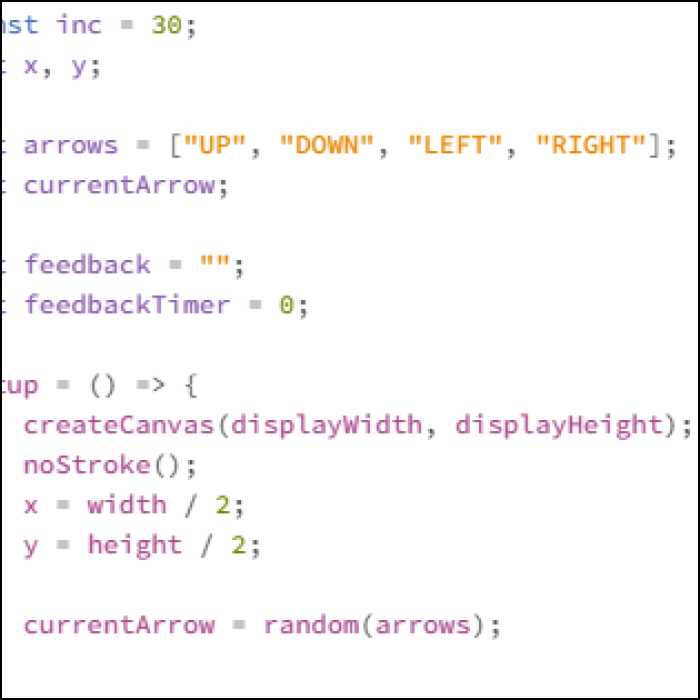


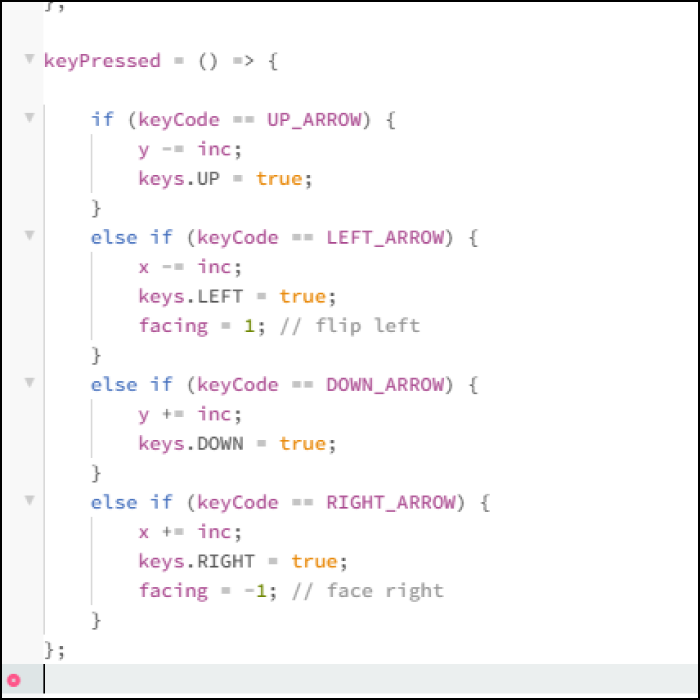
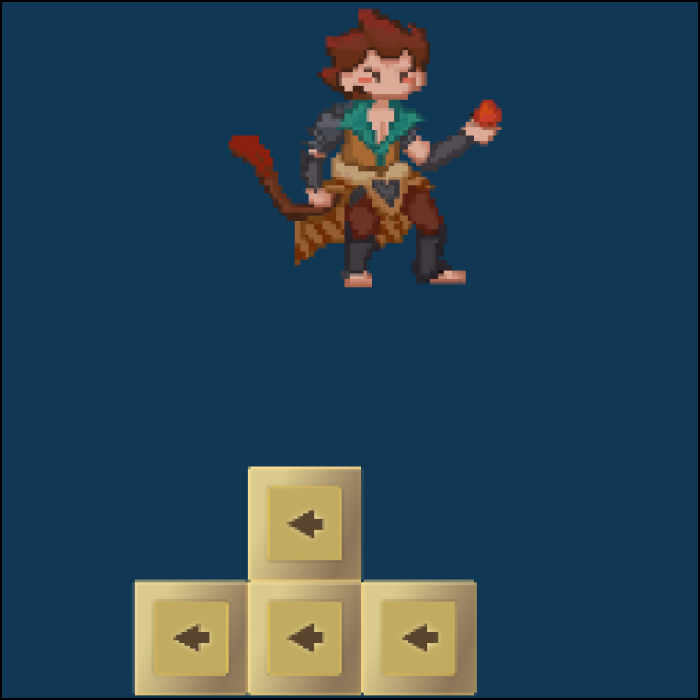


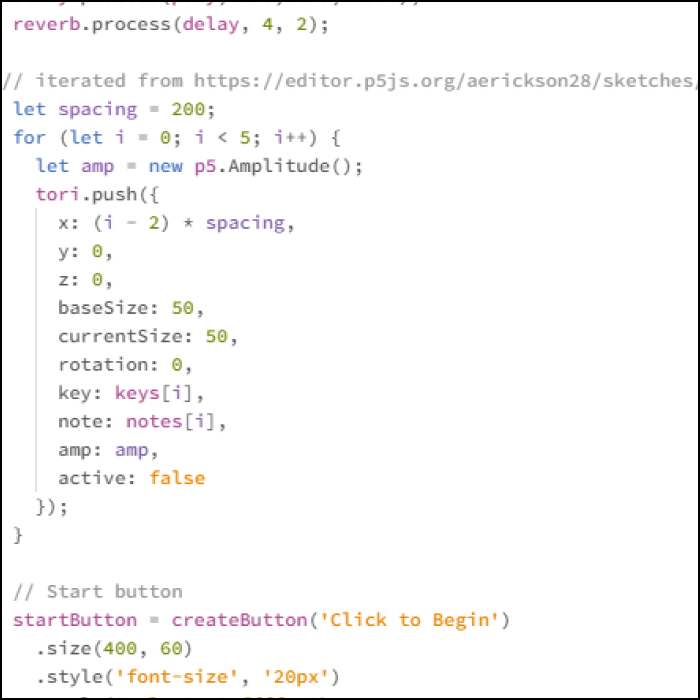

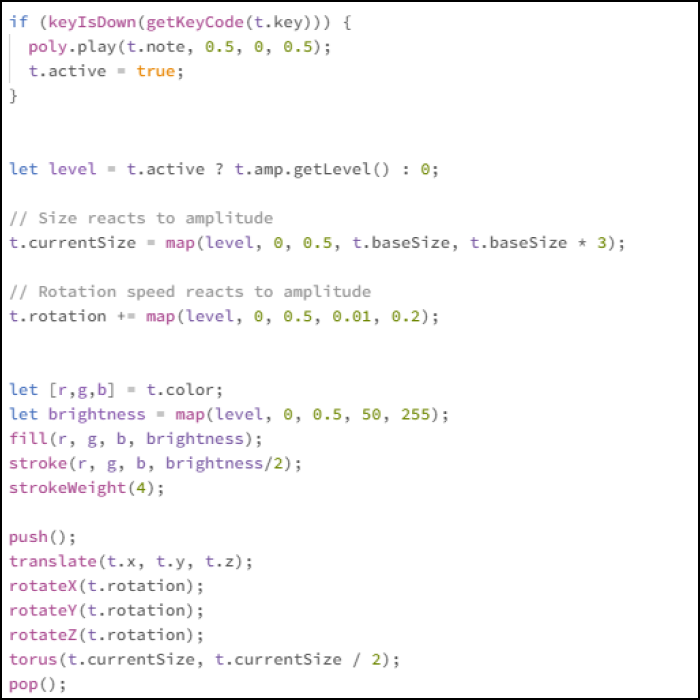
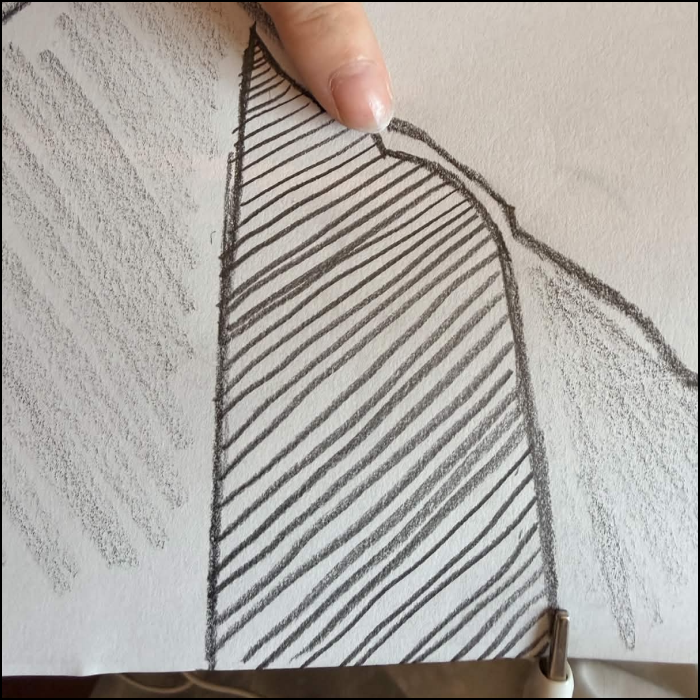
Activity 2
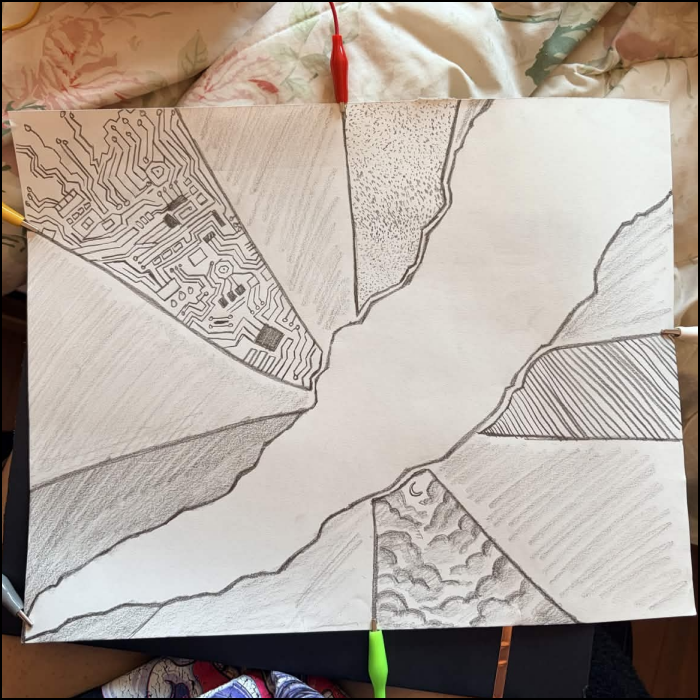

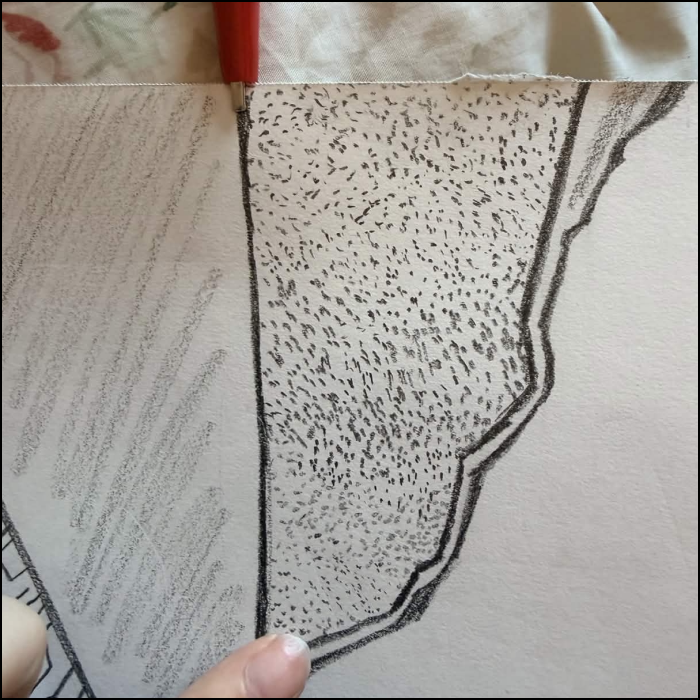

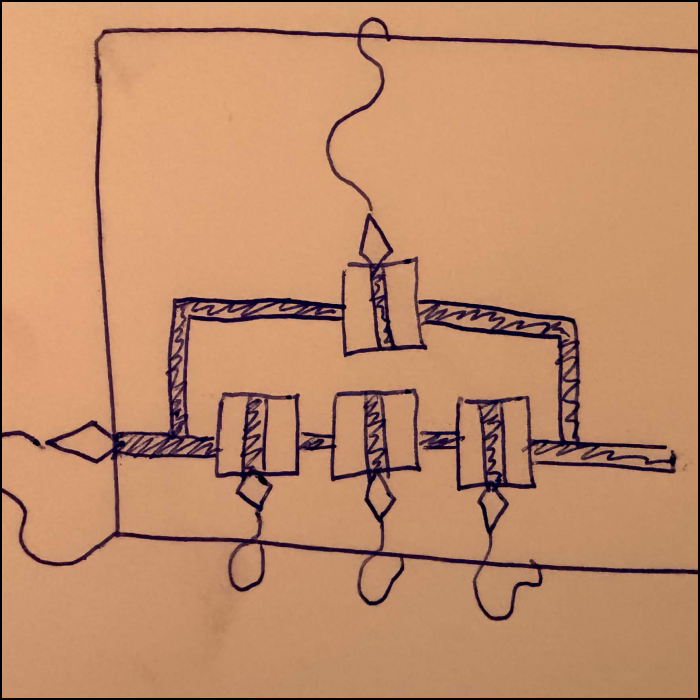


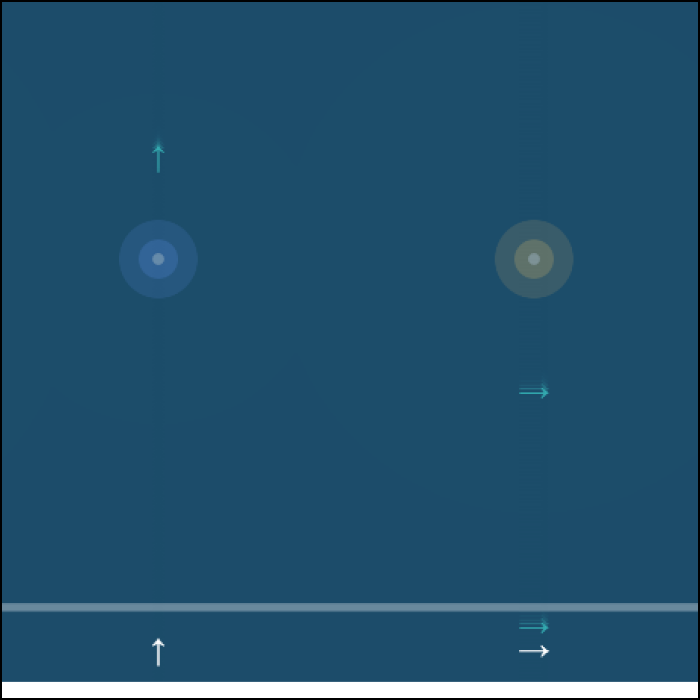
Project 3
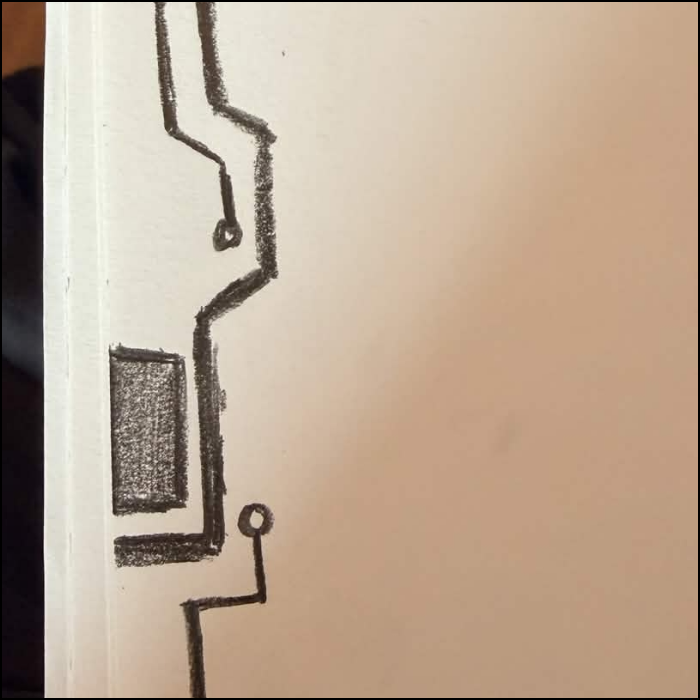
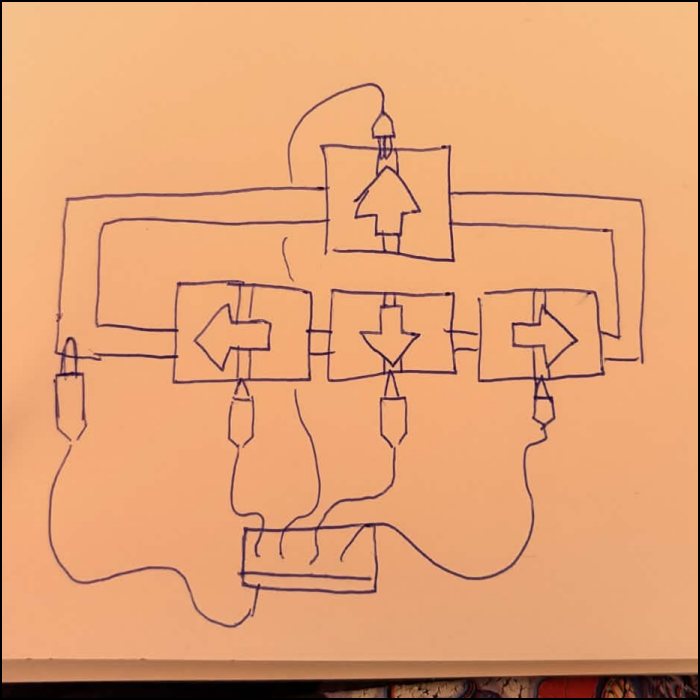
Final Project 3 Design
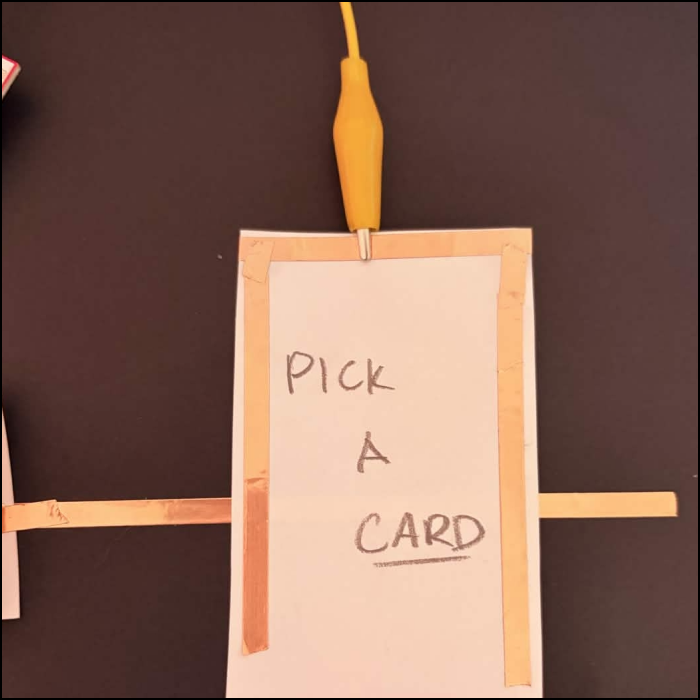
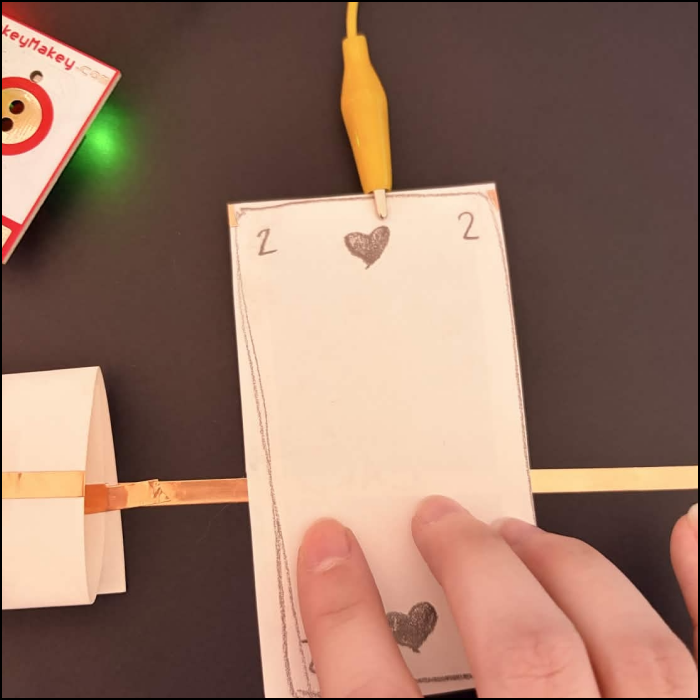
Arcana Card Game simulation
Powered by w3.css